No Need For Professionals: How To Install An Outdoor Security Camera?
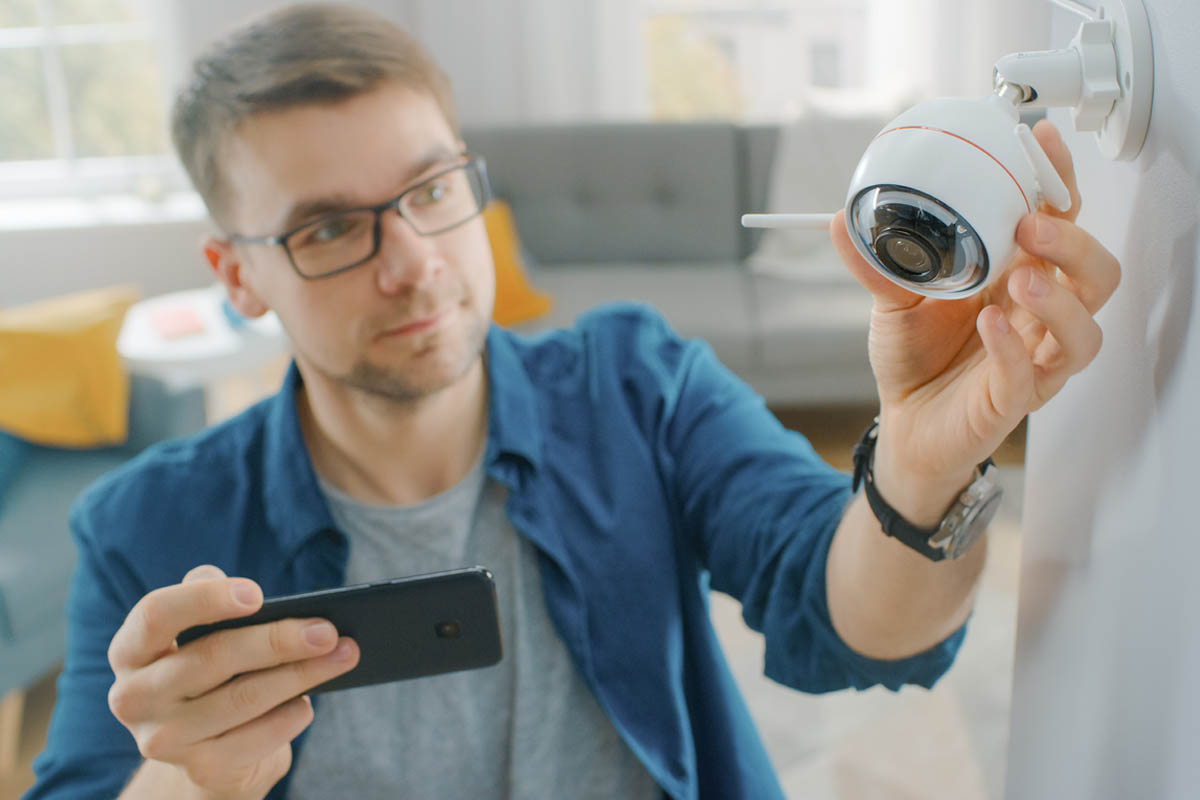
It goes without saying that an outdoor security camera is regarded as one of the most professional and efficient solutions for home security. But you don’t always have to rely on professionals to drill a hole and install the camera for you. What if you were able to do it yourself?
Start By Positioning The Camera
1. Aim the camera to the point of interest for maximum security. Front doors, back doors, garages, and first-floor windows are all possible targets for a security camera. Select a place where your security camera can plainly observe a subject of interest. Take, for example, the fact that more than 80% of burglars enter through first-floor doors. Install a surveillance camera over the entrance door if you want to see who is at the door before answering it.
2. Install the camera in a location where it will have the most field of vision. Install cameras with a narrower field of view, slanted between 45 and 75 degrees, facing a door or above a garage in an outward-facing driveway. Cameras with a broader field of vision, ranging from 75 to 180 degrees, should be placed at a spot where you can see everything, such as a building corner. Consider any obstacles that will restrict your camera’s vision and find a spot with the fewest of them. If your camera rotates, make sure you follow the manufacturer’s orientation recommendations to get the widest possible field of view.
3. Place the camera at least 9 feet (2.7 meters) above the ground if possible. This makes tampering with the camera impossible for anyone shorter than 6 feet (1.8 m). If your main goal is to deter would-be robbers or intruders, ensure sure the camera can still be seen by anybody approaching your home or business. If you can’t mount the camera at least 9 feet (2.7 meters) above the ground, try putting it in a difficult-to-reach or hidden area.
4. If the camera is attached, install it in an area where a power supply is easily accessible. Choose a location for the camera that is close to a power outlet. Ensure that the electrical outlet is either high up or on the opposite side of a wall, out of reach of intruders.
Now, The Installation Stage
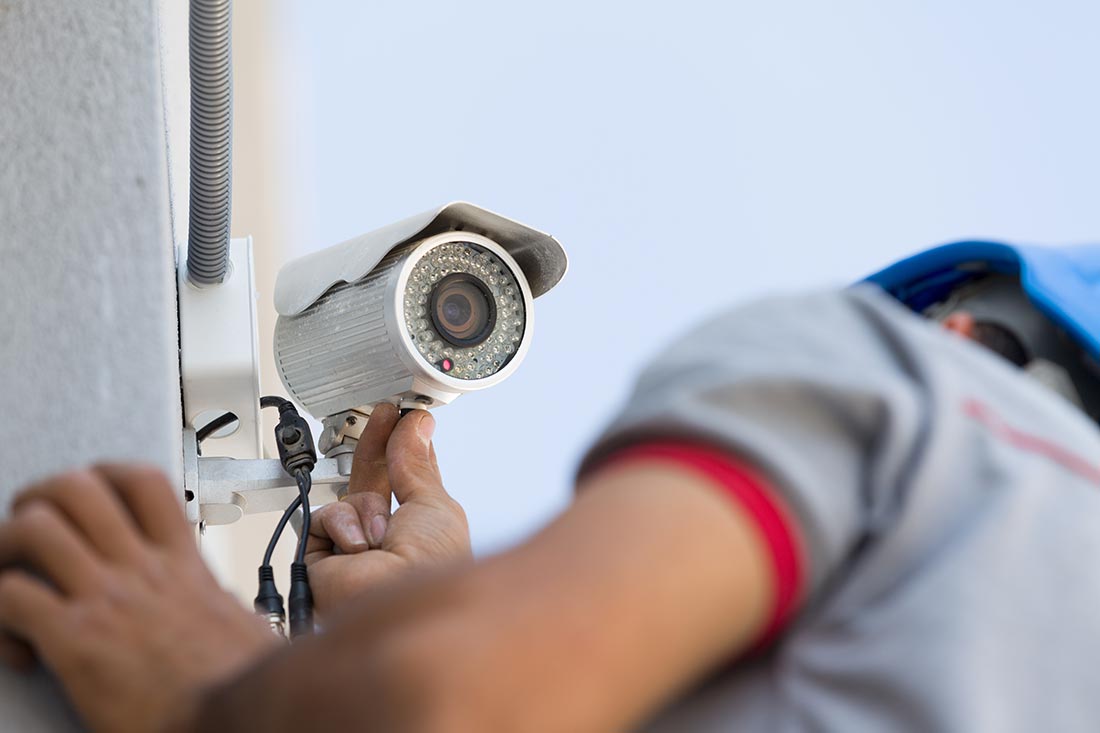
1. Climb a ladder to the spot where the camera will be mounted. Set the camera in the chosen area and mark the location with a pencil or marker where the wire hole will be drilled.
2. Use an electric drill with a drill bit slightly larger than the diameter of the wire. Drill a hole in the wall softly and cautiously for the cable. If you’re not sure if there are any more cables or pipes within that area of the wall, start by drilling solely through the outside layer. Then, thread a length of wire through the wall like a coat hanger to feel for any impediments.
3. To feed the wire through, tape a straightened metal coat hanger to the wire and push it into the hole. As an alternative to the coat hanger, use a magnet to guide the chain of a glow rod through the hole and attach the wire to the chain to drag it through.
4. Hold the camera in place and use a marker or pencil to indicate the screw placements. When the camera is ultimately connected to the surface, this will make it easier to orient it.
5. Your security camera will be sent with the necessary installation gear and instructions. Hold the camera in place and, if it has screws, use a drill to secure it to the surface. Remove the backing from your camera and stick it in place if it has an adhesive strip.
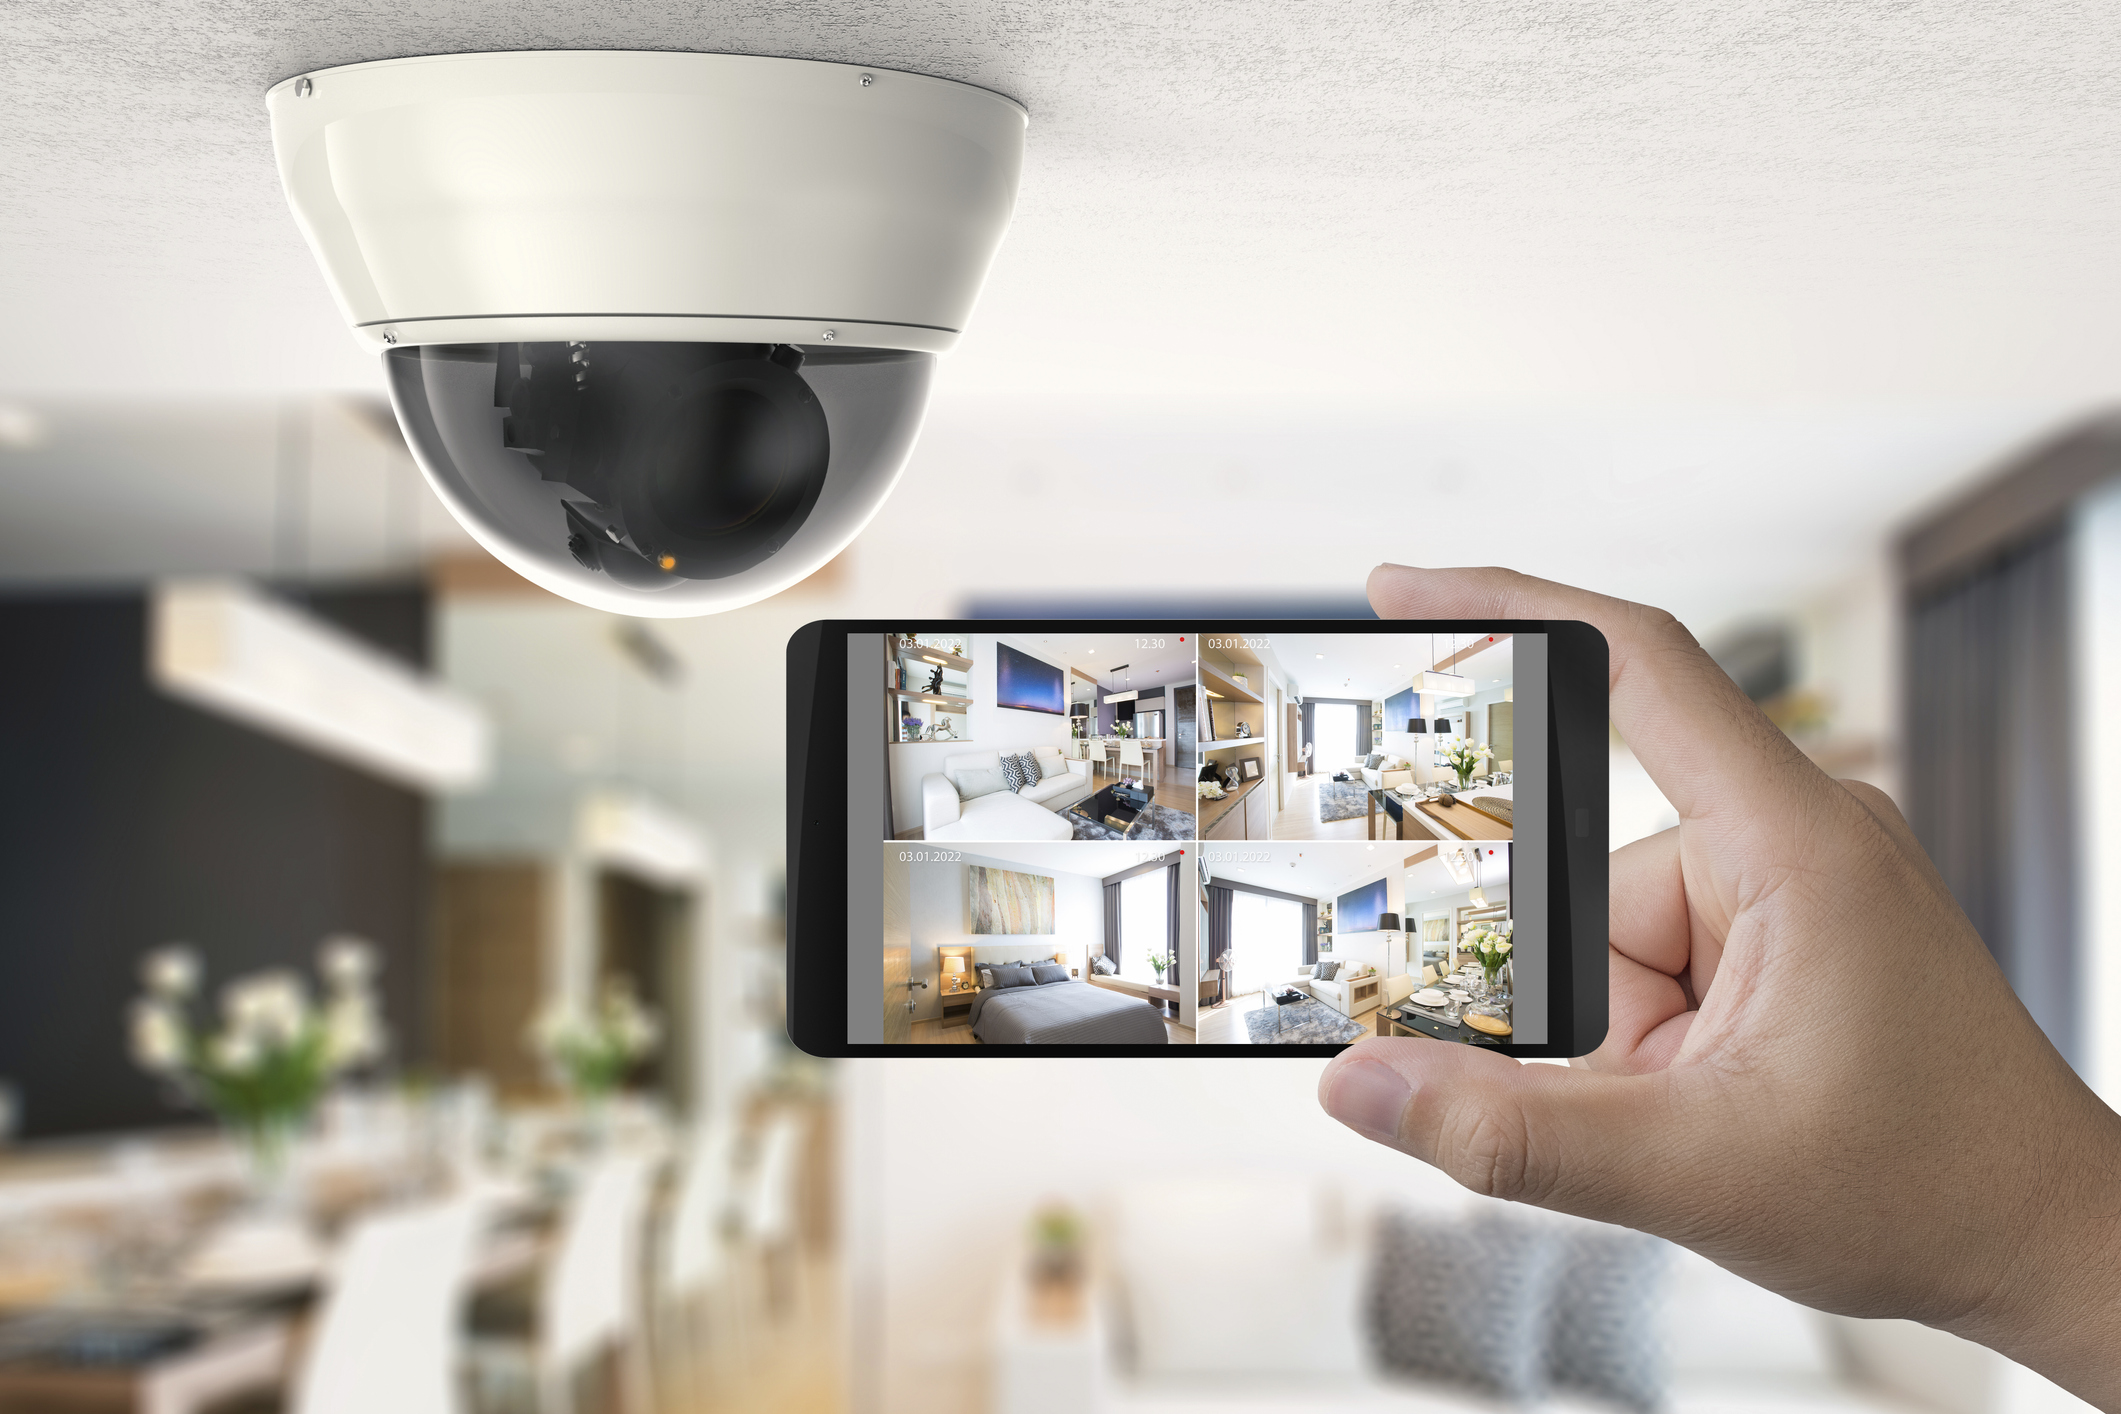
6. Many security cameras come with a ball and joint that allows you to precisely position the camera. Place the camera in the desired location to acquire the desired view.