
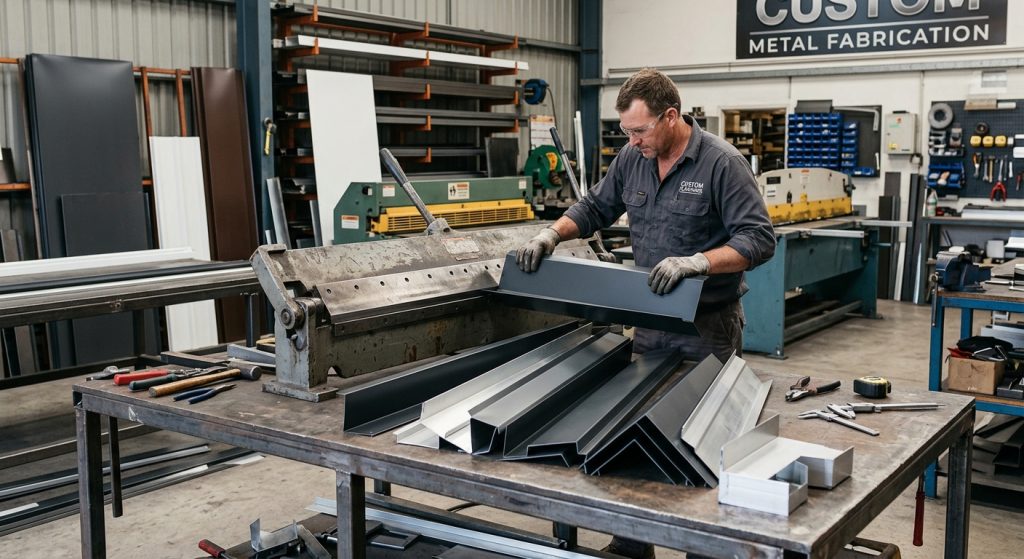
When it comes to maintaining the integrity of a roof, the importance of proper flashing cannot be overstated. Custom flashings play a critical role in preventing leaks around roof joints and various penetrations, ensuring that water is diverted away from vulnerable areas. This article will delve into the types of flashing, the materials used, and best practices for installation to keep your home safe and dry.
The Importance of Custom Flashing in Roofing
Custom flashings are specialized metal barriers that protect crucial junctions in roofing systems. By directing water away from these joints, they help prevent moisture infiltration, which can lead to leaks, mold, and significant structural damage. Importantly, nearly 90% of all roof leaks occur at flashings, highlighting the need for careful attention to these components.
Understanding Different Types of Flashing
Understanding the specific function of each flashing type ensures your roofing system remains watertight across every surface transition.
Continuous Flashing (Apron Flashing)
-
Design & Purpose: A single, long strip of bent metal designed to protect the seam where a vertical wall meets a sloped roofline.
-
Functionality: It acts as a continuous conduit, guiding water straight down over the shingles below without allowing moisture to seep behind siding or cladding.
-
Key Challenge: Because long metal strips expand and contract with temperature shifts, they require expansion joints to prevent warping or buckling over time.
Step Flashing
-
Design & Purpose: Small, L-shaped rectangular metal pieces installed sequentially along the sides of dormers, chimneys, and sloped wall intersections.
-
Functionality: Each piece bends at a 90-degree angle, resting flat against the roof deck while extending up the vertical wall. Installers overlap these pieces step-by-step alongside individual shingle courses.
-
Why It Matters: If water breaks past one shingle layer, the step profile forces it back onto the outer surface rather than allowing it to track horizontally under the roof deck.
Valley Flashing
-
Design & Purpose: Heavy-gauge metal (often W-shaped or V-profiled) placed along internal roof valleys where two sloped planes join.
-
Functionality: Because roof valleys collect and channel high volumes of fast-flowing runoff, valley flashing provides an impermeable channel that directs heavy rainfall directly into gutters.
-
Installation Styles: Can be left exposed (open valley) for maximum durability and water flow, or concealed underneath woven shingles (closed valley) for a seamless appearance.
Counter Flashing (Cap Flashing)
-
Design & Purpose: Protective metal installed directly into the masonry joints of chimneys or concrete walls, extending down to overlap the top edge of base or step flashing.
-
Functionality: It forms a two-part defense system. The base flashing stops water from penetrating the roof surface, while the counter flashing seals the top gap, preventing water from sneaking behind the wall attachment point.
-
Maintenance: Relies on durable sealant embedded into saw-cut mortar grooves (reglets) to maintain a watertight bond against brick or stone.
Drip Edge Flashing
-
Design & Purpose: An L- or T-shaped metal edge installed along the perimeter of the roof (the eaves and rakes) prior to underlayment.
-
Functionality: Extends past the roof deck to tilt outward, using surface tension to direct water away from the fascia board and directly into the gutter system.
-
Key Benefit: Prevents capillary action—where water curls backward under the edge of shingles—which otherwise rots exterior trim, soffits, and roof decking.
Materials Used in Flashing: Pros and Cons
The choice of material for flashing is crucial. Here’s a comparison of common materials:
| Material | Cost | Durability | Climate Suitability |
|---|---|---|---|
| Aluminum | Low | Medium (15-20 years) | Moderate |
| Copper | High | Excellent (>50 years) | All climates |
| Galvanized Steel | Medium | Good | Most climates |
Choosing the right flashing material affects not only the longevity of the roof but also its ability to withstand environmental stresses.
Critical Areas Requiring Flashing Solutions
Effective flashing is essential in several key areas of your roof:
- Chimneys: Use both base and counter flashing for added moisture control.
- Skylights: Require custom flashing kits for water-tight protection.
- Roof Valleys: Must be fitted with valley flashing to facilitate water drainage.
- Wall Intersections: Step flashing is crucial here to prevent leaks.
Best Practices for Flashing Installation
Installation of flashing must adhere to certain best practices to ensure maximum effectiveness:
- Ensure proper overlap of flashing components to prevent water pooling.
- Seal all joints with appropriate roofing-grade caulk.
- Use appropriate fasteners compatible with the materials used to avoid corrosion.
Diagnosing and Maintaining Flashing Integrity
Regular inspection of flashing is vital. Watch for signs of damage such as rust, loose sections, or visible gaps. Seasonal inspections can help catch potential issues before they become major problems. A basic DIY inspection checklist includes:
- Check for visible damage on all flashing elements.
- Inspect fasteners and sealants for wear and tear.
- Ensure that water drains properly and does not pool around flashing.
Proper flashing installation and maintenance are crucial for extending the lifespan of your roof and preventing water damage. For expert assistance with flashing and roofing solutions in your area, consider reaching out to a qualified contractor who specializes in this essential aspect of roofing.


